Voice agents that can control a live website represent a new frontier in human-computer interaction. Instead of clicking through menus and forms, a user simply speaks - and the agent navigates, clicks, types, and reads on their behalf. In a previous tutorial, we explored how to achieve this with ElevenLabs. In this guide, we take the same concept and build it with Vapi, a developer-focused voice AI platform that supports client-side tool calling out of the box.
By the end of this tutorial, you will have a working Webfuse Extension that:
- Renders a floating voice orb on any proxied website
- Connects to a Vapi-powered voice assistant on click
- Gives the assistant the ability to read the page, click elements, type into fields, press keys, and navigate - all through the Webfuse Automation API
What You Will Need:
- A Vapi Account: Free tier available at vapi.ai. You will need your Public Key.
- A Webfuse Account: Required to create a Space and deploy the extension. Sign up at webfuse.com.
- Node.js 18+ and pnpm (or npm/yarn) installed locally.
The Full Source Code is available on GitHub.
Why Vapi?
Vapi is a voice AI platform built for developers. Unlike platforms that abstract away the model layer, Vapi gives you full control over the LLM provider, system prompt, voice, transcriber, and - critically - client-side tools. This means the voice agent's tool calls can be handled entirely within the browser, with no server-side relay required.
For our use case, this is ideal. The Webfuse Automation API is a client-side API available within Session Extensions. When the voice agent decides to click a button, it issues a tool call that executes directly in the browser session - no round-trip to a server. No assistant needs to be pre-configured in the Vapi Dashboard - the model, prompt, voice, and tools are all defined inline in code.
Step 1: Clone, Install, and Build
git clone https://github.com/webfuse-com/extension-vapi-voice-agent.git
cd extension-vapi-voice-agent
pnpm install
pnpm build
That's it. The build produces a dist/ folder with everything Webfuse needs:
dist/
  background.js    # Auto-opens the popup on session start
  content.js       # Automation API relay
  popup.html       # Orb widget UI
  popup.js         # Vapi SDK + tools (bundled)
  manifest.json    # Extension manifest
Step 2: Deploy to Webfuse
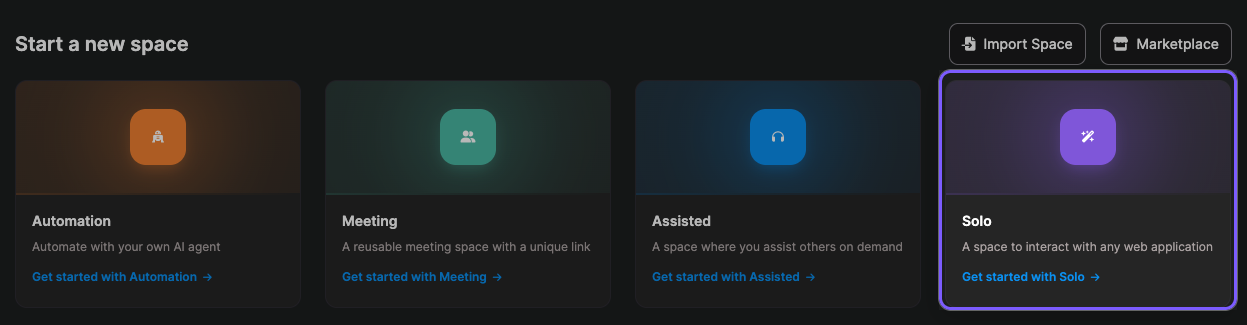
- Go to Webfuse Studio and create a Space (Solo is perfect for this use-case)
- In the Space, open Settings (gear icon) > Extensions > Install extension

- Click Load unpacked in Default Storage and select the
dist/folder
Step 3: Configure Your API Key
You can set your VAPI_PUBLIC_KEY either in the manifest.json before building, or directly in Webfuse Studio after uploading:
- In the Extensions panel, click on Vapi Voice Widget
- Click Configure next to Environment Variables
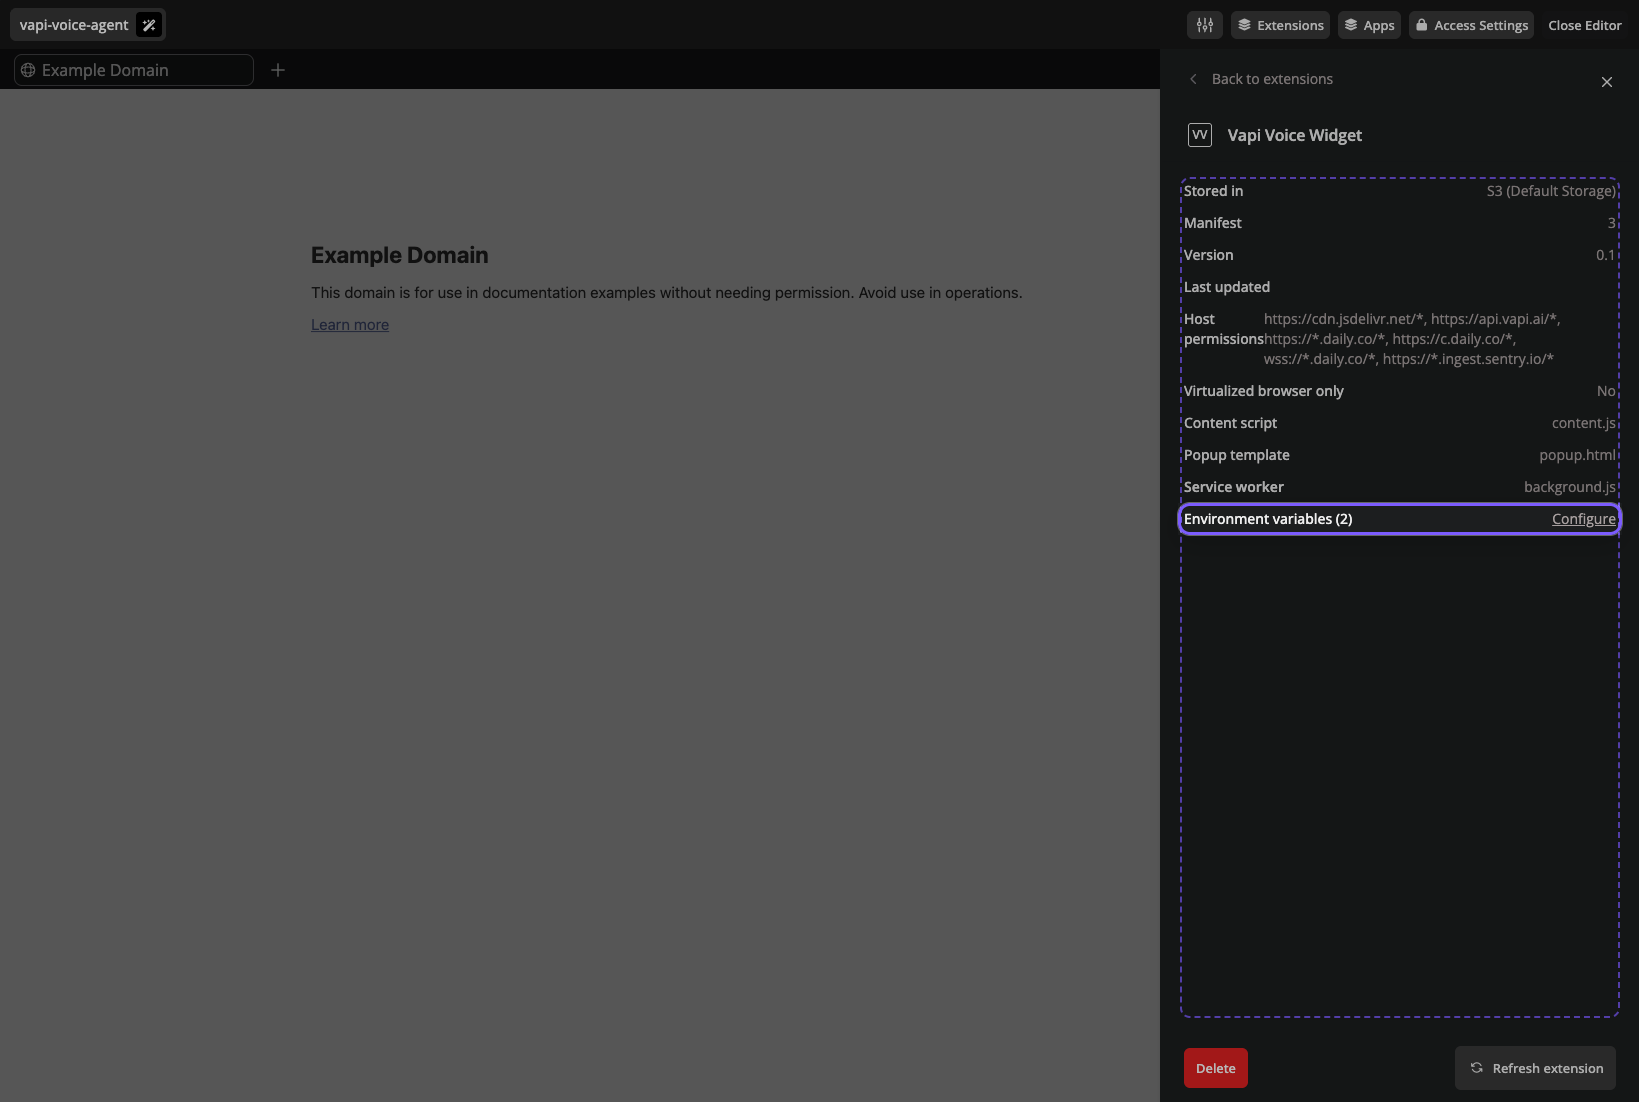
- Set
VAPI_PUBLIC_KEYto your Vapi public key (found in the Vapi Dashboard)
Open a Session in your Space. The orb appears automatically. Click it, grant microphone access, and start talking.
How It Works
With the extension running, let's look under the hood at how the pieces fit together.

Architecture
The extension is structured around three components, each running in a distinct context within Webfuse:

View table data
| Component | Context | Role |
|---|---|---|
Popup (popup.ts) | Extension page | Runs the Vapi SDK, handles voice + audio, renders the orb UI, processes tool calls |
Content (content.ts) | Tab page | Thin automation relay - receives tool call messages and executes them via the Webfuse Automation API |
Background (background.ts) | Service worker | Auto-opens the popup when the session starts |
For a detailed investigation into why this architecture is necessary, see the
REPORT.mdfile in the github repository.
The Voice Connection
The popup initializes the Vapi SDK and starts a call with a fully inline assistant configuration:
vapi.start({
  model: {
    provider: "openai",
    model: "gpt-4o",
    messages: [{ role: "system", content: systemPrompt }],
    tools: vapiTools,
  },
  transcriber: { provider: "deepgram", model: "nova-2", language: "en" },
  voice: { provider: "vapi", voiceId: "Elliot" },
  name: "Webfuse Assistant",
  firstMessage: "Hey! I can help you interact with this page. What would you like to do?",
  clientMessages: ["tool-calls", "transcript"],
});
The critical field is clientMessages: ["tool-calls", "transcript"]. This tells Vapi to deliver tool call events to the client SDK rather than routing them server-side. When the model decides to call click_element, the event arrives as a message in the popup, where our handler executes it locally.
When a tool call completes, the result is injected back into the conversation as a system message using vapi.send():
vapi?.send({
  type: "add-message",
  message: {
    role: "system",
    content: `[Tool "${name}" result]: ${resultStr}`,
  },
});
This ensures the model can read the output of its own tool calls - for example, after taking a DOM snapshot, the model receives the HTML and can describe what it sees or decide which element to target next.
Automation Tools
The file src/tools.ts defines the bridge between Vapi's tool calling system and the Webfuse Automation API. Each tool has a handler (the function that executes) and a definition (the schema Vapi sends to the LLM).
Here is the tool handler for clicking an element:
case "click_element": {
  await delegateAutomation("act", "click", params.target, {
    moveMouse: true,
    scrollIntoView: true,
  });
  return `Clicked "${params.target}"`;
}
The delegateAutomation helper sends a message from the popup to the content script, which calls the corresponding method on browser.webfuseSession.automation:
function delegateAutomation(
  automationScope: string,
  automationMethod: string,
  ...automationArgs: any[]
): Promise<any> {
  return browser.tabs.sendMessage(0, {
    automationScope,
    automationMethod,
    automationArgs,
  });
}
This delegation is necessary because the Automation API is only available in content scripts - it operates on the live page DOM.
The full set of tools:

View table data
| Tool | Automation Method | Purpose |
|---|---|---|
take_dom_snapshot | see.domSnapshot() | Read the page structure with Webfuse IDs |
click_element | act.click() | Click buttons, links, any element |
type_text | act.type() | Type into input fields |
press_key | act.keyPress() | Press Enter, Escape, Tab, arrow keys |
navigate_to | automation.navigate() | Go to a different URL |
The Orb UI
The floating orb widget is defined in popup.html. It uses CSS ping-ring animations to communicate the current call state visually:
These states are driven by CSS classes toggled from the popup script in response to Vapi events:
vapi.on("speech-start", () => setState("ai-speaking"));
vapi.on("speech-end", () => setState("connected"));
The orb also includes error handling. If a user clicks the orb without configuring their VAPI_PUBLIC_KEY, a toast notification slides in with a clear message guiding them to the extension settings.
The Manifest
The manifest.json includes host_permissions for all domains the Vapi SDK communicates with:
"host_permissions": [
    "https://cdn.jsdelivr.net/*",
    "https://api.vapi.ai/*",
    "https://*.daily.co/*",
    "https://c.daily.co/*",
    "wss://*.daily.co/*",
    "https://*.ingest.sentry.io/*"
]
Note that wss://*.daily.co/* is listed separately - WebSocket Secure URLs require their own permission. The env array defines VAPI_PUBLIC_KEY, which can be configured per-Space in Webfuse Studio without rebuilding.
What Happens Next
This extension is a starting point. From here, you might consider:
- Expanding the toolset. The Webfuse Automation API offers additional methods like
act.select()for dropdowns,act.textSelect()for highlighting text, andsee.guiSnapshot()for sending a screenshot to the model. Each can be added as a new tool insrc/tools.ts. - Adding the Session MCP Server. For more advanced orchestration, you can connect the Webfuse Session MCP Server to route automation through the Model Context Protocol, enabling multi-agent workflows and external tool registries.
- Refining the system prompt. The default prompt in
src/tools.tsis intentionally minimal. A production agent would benefit from detailed instructions about how to interpret DOM snapshots, when to use Webfuse IDs versus CSS selectors, and how to handle error recovery.
The full source code is available at github.com/webfuse-com/extension-vapi-voice-agent.
Further Reading
- Vapi Web SDK Documentation
- Vapi Client-Side Tools
- Webfuse Automation API Reference
- Webfuse Extension Guide
- Webfuse Agent Guide
- About Webfuse Session MCP
- A Gentle Introduction to AI Agents for the Web
Build Your Own Voice-Controlled Web Agent
Webfuse lets you proxy any website and give AI agents full control over it - clicks, typing, navigation, and DOM reading. Sign up and deploy your first voice agent in minutes.
Frequently Asked Questions

Next Steps
Ready to Get Started?
14-day free trial
Stay Updated
Related Articles
DOM Downsampling for LLM-Based Web Agents
We propose D2Snap – a first-of-its-kind downsampling algorithm for DOMs. D2Snap can be used as a pre-processing technique for DOM snapshots to optimise web agency context quality and token costs.
A Gentle Introduction to AI Agents for the Web
LLMs only recently enabled serviceable web agents: autonomous systems that browse web on behalf of a human. Get started with fundamental methodology, key design challenges, and technological opportunities.